Cluster False Lashes
Cluster False Lashes Guide: Application, Styles & Best Tips
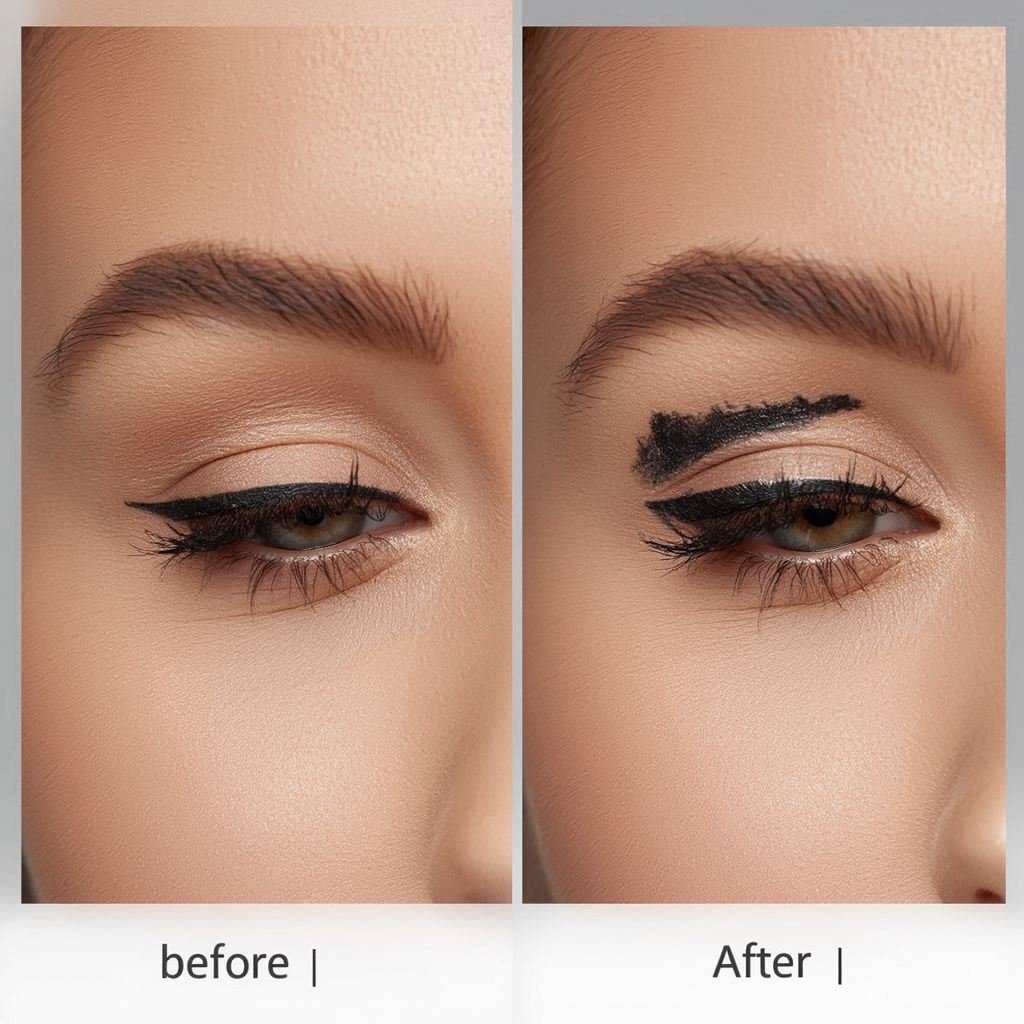
Cluster false lashes are small groups of lashes applied in sections to create customizable volume and definition. They allow you to build anything from a soft natural look to full glam lash extensions. This guide covers how cluster lashes work, how to apply them, and the best styles to choose.
Common Cluster False Lashes Questions Answered
What are cluster false lashes?
Cluster false lashes are small groups of lash fibers applied in sections to build customized volume and definition.
Who should use cluster lashes?
They’re ideal for anyone who wants customizable lash volume ranging from natural enhancement to full glam.
Are cluster lashes reusable?
Yes — they can be reused if cleaned carefully and stored properly, depending on adhesive used.
Do cluster lashes look natural?
Yes — when applied lightly and spaced out, they can look very natural and fluttery.
Are cluster lashes beginner friendly?
They are moderately beginner-friendly, but take practice for even placement.
Do I need glue for cluster lashes?
Yes — lash glue or bond adhesive is required to attach each cluster.
What eye shapes work best?
Cluster lashes can be customized for all eye shapes by adjusting placement and density.
What look do cluster lashes create?
They create a customizable lash look ranging from natural wisps to full volume glam.
Most Searched Cluster False Lashes Questions
Why are my cluster lashes falling off?
They may not have enough adhesive or may not be placed on clean, oil-free lashes.
How do I make cluster lashes last longer?
Use strong lash bond and avoid touching or wetting them immediately after application.
Are cluster lashes better than strip lashes?
They offer more customization, while strip lashes are faster and easier to apply.
Can I reuse cluster lashes?
Yes — if they are gently removed and cleaned, depending on glue used.
Cluster False Lashes Application Steps
Step 1: Prep Lashes
- Clean natural lashes thoroughly
- Remove oils for better adhesion
Step 2: Apply Adhesive
- Dip cluster base into lash glue or bond
- Wait until slightly tacky
Step 3: Place Clusters
- Apply under or on top of natural lashes
- Start from outer corner inward
Step 4: Build Volume
- Add more clusters where needed
- Adjust spacing for desired look
Step 5: Finish Look
- Let adhesive fully set
- Blend with mascara if desired
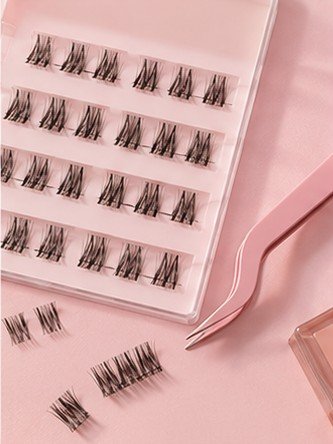
Useful Cluster False Lashes Tools
- Lash Bond – Long-lasting cluster adhesion
- Tweezers – Precise cluster placement
- Lash Sealer – Locks clusters in place
Cluster False Lashes Tips & Guidance
Best for Eye Shapes ✨
- Almond eyes: Balanced customization works best
- Hooded eyes: Lightweight clusters prevent heaviness
- Round eyes: Outer corner focus adds lift
- Monolid eyes: Layered clusters add definition
Common Mistakes ⚠️
- Using too much adhesive per cluster
- Placing clusters too close together
- Not prepping natural lashes
- Uneven spacing across both eyes
Where to Apply 📍
- Along lash line in sections
- Outer corners for lift
- Even spacing for natural effect
Choosing the Right Style 🎯
Cluster lashes work best when matched to your desired density—light clusters for natural looks and layered clusters for glam volume.
Cluster False Lashes Style, Finish & Effect Guide
Drama Levels ✨
- Natural: Soft lash enhancement
- Medium: Noticeable volume
- Full Glam: Dense lash build
Finish Types 💄
- Natural – spaced soft clusters
- Wispy – feathered light effect
- Voluminous – dense glam finish
Best For ✔
- Custom lash styling
- Longer wear looks
- Layered lash effects
May Not Be Ideal If ⚠
- You want quick one-step lashes
- You prefer no-precision application
Pro Tips 💡
- Apply in small sections
- Mix cluster lengths for natural effect
- Seal lashes for longer hold
Still Deciding Which Lashes Are Right for You?
Explore different lash styles to find your perfect match.
Best Cluster False Lashes
Ardell DuraLash Individual Clusters
⭐ 4.6 / 5 from 65k+ reviews
Effect:
Natural customizable volume
Benefits:
Lightweight individual clusters
Why we love it:
Perfect for natural to soft glam lash mapping.
KISS Falscara Cluster Lashes
⭐ 4.7 / 5 from 85k+ reviews
Effect:
Buildable lash extensions effect
Benefits:
Bond + seal system for hold
Why we love it:
Salon-like lash look at home.
Velour Custom Lash Clusters
⭐ 4.5 / 5 from 30k+ reviews
Effect:
Soft wispy volume
Benefits:
Reusable lightweight fibers
Why we love it:
Luxury feel with customizable placement.
Ardell Naked Clusters
⭐ 4.6 / 5 from 40k+ reviews
Effect:
Natural lash enhancement
Benefits:
Seamless blend with natural lashes
Why we love it:
Great everyday subtle lash look.