Sheer Highlighter

Sheer Highlighter Guide: What It Is, Who It’s For, and How to Choose the Best One Alternative options:
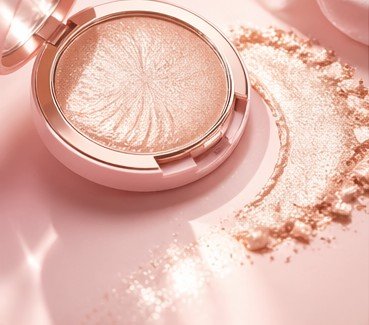
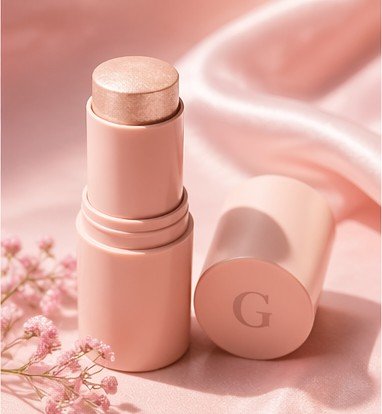
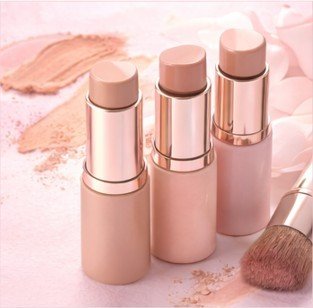
Sheer highlighter is a lightweight formula designed to give the skin a subtle, natural-looking glow without obvious shimmer or glitter. It enhances the complexion with a soft radiance that looks like real skin, making it perfect for “no-makeup makeup” looks. Sheer highlighter is ideal when you want a fresh, healthy glow that’s understated and elegant.
Common Sheer Highlighter Questions Answered
What is sheer highlighter used for?
Sheer highlighter is used to create a soft, natural glow that looks like real skin radiance.Is sheer highlighter good for natural makeup?
Yes — it gives a barely-there glow that enhances skin without looking heavy.Does sheer highlighter work on all skin types?
Yes, it works well on all skin types because it is lightweight and buildable.Where do you apply sheer highlighter?
Apply to cheekbones, brow bone, nose bridge, and cupid’s bow.Does sheer highlighter look glittery?
No — it gives a soft, skin-like glow rather than strong sparkle.Can you build sheer highlighter?
Yes — you can layer it for a slightly stronger glow while keeping it natural.Is sheer highlighter good for beginners?
Yes — it’s very forgiving and hard to over-apply.What finish does sheer highlighter give?
A soft, luminous, lit-from-within glow.Most Searched Sheer Highlighter Questions
Is sheer highlighter better than powder?
It gives a more natural, subtle glow compared to traditional powder highlighter.Does sheer highlighter last all day?
It lasts well when applied over a set base or layered lightly.Can you wear sheer highlighter every day?
Yes — it’s perfect for everyday “no makeup makeup” looks.Does sheer highlighter show on dark skin?
Yes — it enhances natural radiance without looking ashy when matched correctly.Sheer Highlighter Application Steps
Step 1: Prep Your Skin
- Apply moisturizer and base makeup if needed
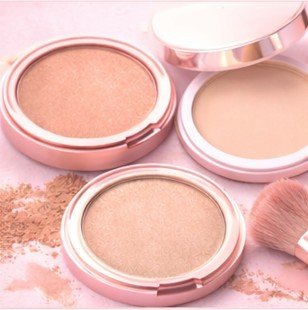
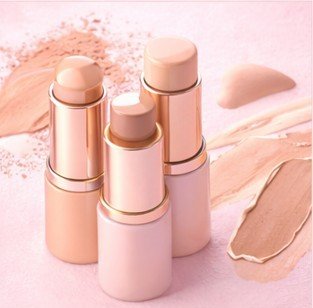
Step 2: Choose Your Shade
- Pick champagne, pearl, or soft pink tones
- Match undertone for natural glow
Step 3: Apply Lightly
- Tap or swipe a small amount on high points
- Start sheer and build slowly
Step 4: Blend
- Use fingers or a soft brush
- Blend until seamless and skin-like
Step 5: Build If Needed
- Add thin layers for more glow
- Keep finish light and natural
Useful Sheer Highlighter Tools
- Fingers – best for melting into skin
- Fan Brush – ultra-light glow application
- Small Blending Brush – precise soft highlight
Sheer Highlighter Tips & Guidance
Best by Skin Type ✨
- Dry skin: Dewy sheer formulas
- Oily skin: Lightweight gel or balm finishes
- Combination skin: Buildable sheer textures
- Sensitive skin: Fragrance-free options
Common Mistakes ⚠️
- Applying too much product
- Not blending enough
- Using overly shimmery formulas
- Skipping skin prep
Where to Apply 📍
- Cheekbones
- Brow bone
- Nose bridge
- Cupid’s bow
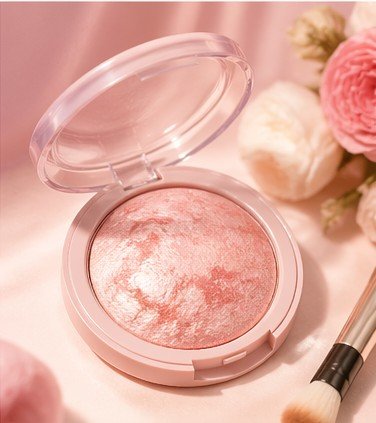
Finish Guide 🎯
Sheer highlighter gives a soft, natural, lit-from-within glow that enhances your skin rather than sitting on top of it.Sheer Highlighter Coverage, Finish & Shade Guide
Glow Levels ✨
- Soft: Barely-there glow
- Medium: Natural radiance
- Buildable: Layered glow
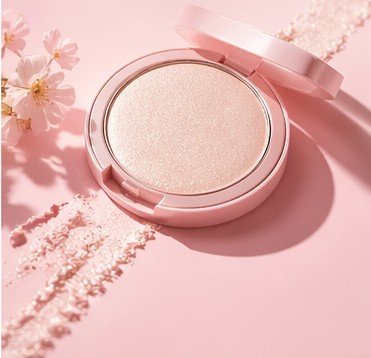
Finish Types 💄
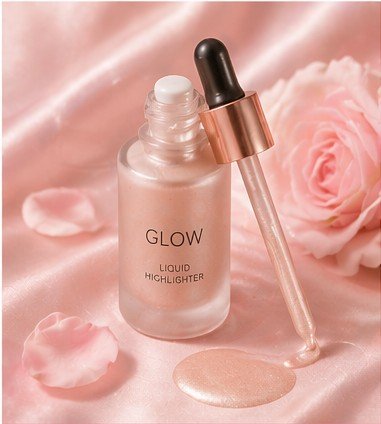
- Skin-like glow – natural radiance
- Dewy sheer – fresh luminous finish
Best For ✔
- Natural makeup looks
- Everyday wear
- Beginners
- All skin types
May Not Be Ideal If ⚠
- You want intense metallic highlight
- You prefer bold shimmer looks
Shade Matching Tips 💡
- Champagne = universal glow
- Pearl = cool undertones
- Soft gold = warm undertones
Still Deciding Which Highlighter Is Right for You?
Top Sheer Highlighters to Try
Glossier Haloscope Highlighter
⭐ 4.5 / 5 from 20k+ reviews
Glow Level: Natural dewy glow Benefits: Hydrating core + sheer shimmer Why we love it: Gives a real-skin luminous finish. Buy NowSaie Glowy Super Gel
⭐ 4.7 / 5 from 30k+ reviews
Glow Level: Soft radiant sheen Benefits: Lightweight sheer glow booster Why we love it: Perfect for no-makeup makeup looks. Buy NowRare Beauty Positive Light Liquid Luminizer
⭐ 4.8 / 5 from 35k+ reviews
Glow Level: Buildable sheer glow Benefits: Ultra-light reflective finish Why we love it: Blends seamlessly into skin. Buy Nowe.l.f. Halo Glow Highlight Wand
⭐ 4.6 / 5 from 40k+ reviews
Glow Level: Soft luminous glow Benefits: Affordable sheer highlight Why we love it: Easy everyday glow with natural finish. Buy Now