⚠️ Affiliate Disclosure: Some links on this site are affiliate links.
If you make a purchase, I may earn a commission at no extra cost to you.
<
How to Shape and Fill Your Brows
Learn how to map, shape, and fill your eyebrows for a natural, balanced look. This beginner-friendly guide shows the easiest techniques and best brow products for creating polished brows at home.
Shape, Fill & Style Your Brows
Your complete guide to brow shaping, filling techniques, face shape matching, and the best products for naturally defined brows.Common Brow Shaping Questions
How do I find my natural brow shape?
Follow your brow bone and use mapping points at the start, arch, and tail.Should brows match hair color?
Brows usually look best one shade darker for blonde hair or one shade lighter for dark hair.How often should I shape brows?
Most people reshape brows every 2–4 weeks.What brow product is easiest for beginners?
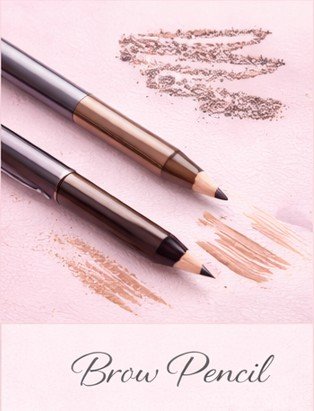
Precision brow pencils are the easiest starting tool.Are thicker brows better?
Full brows often look more youthful but should match your face proportions.Should I tweeze above the brow?
Light cleanup is fine, but most shaping happens underneath.Brow Mapping Steps (Perfect Shape Guide)
Step 1: Find the Starting Point
- Hold pencil vertically along side of nose
- This marks where brow begins
Step 2: Find the Arch
- Angle pencil through center of pupil
- This marks highest point of brow
Step 3: Find the Tail
- Angle pencil toward outer eye corner
- This marks brow end point
Step 4: Clean the Shape
- Tweeze stray hairs outside outline
- Avoid over-thinning arch
Step 5: Brush Brows Into Place
- Use spoolie brush
- Blend upward and outward
How to Fill Brows Naturally
Step 1: Choose Right Shade
- Select close to natural brow color
- Avoid overly dark tones
Step 2: Outline Shape
- Lightly define bottom edge
- Keep strokes soft
Step 3: Fill Sparse Areas
- Use hair-like strokes
- Do not fill entire brow solid
Step 4: Blend
- Use spoolie brush
- Soften lines
Step 5: Set Brows
- Use brow gel
- Lock shape in place
Best Brow Products for Shaping & Filling
Common Brow Mistakes to Avoid
Drawing square fronts
Keep front soft and blended.Using too-dark pencils
Match brow shade closely.Over-plucking arch
Maintain natural fullness.Filling brows too heavily
Only fill sparse areas.Brow Shapes by Face Type
Round Face
- Best: Soft angled brows
- Avoid: Round brows
- Goal: Add definition
Oval Face
- Best: Soft natural arch
- Avoid: Sharp angles
- Goal: Maintain balance
Square Face
- Best: Defined arch
- Avoid: Flat brows
- Goal: Soften jawline
Heart Face
- Best: Rounded brows
- Avoid: Sharp tails
- Goal: Balance forehead
Long Face
- Best: Straighter brows
- Avoid: High arches
- Goal: Shorten face visually
Simple Beginner Brow Routine
- Brush brows upward
- Map shape
- Fill sparse areas only
- Blend with spoolie
- Set with gel