Retractable Eye Pencil
Retractable Eye Pencil Guide: Easy, No-Sharpen Eyeliner for Everyday Wear
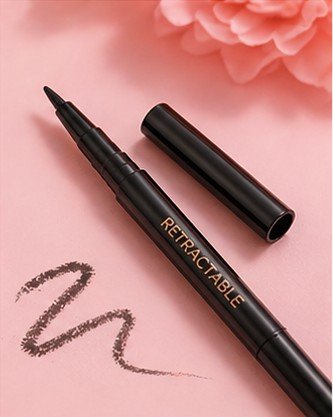
Retractable eye pencil is a convenient, twist-up eyeliner that delivers smooth application without the need for sharpening. It’s designed for quick, precise, and mess-free eye makeup, making it perfect for everyday use and travel. In this guide, you’ll learn how to apply it, choose the right formula, and get the best long-lasting results.
Common Retractable Eye Pencil Questions Answered
What is a retractable eye pencil?
A retractable eye pencil is a twist-up eyeliner that does not require sharpening.
Is retractable eye pencil good for beginners?
Yes — it is very easy to use and mess-free, making it beginner-friendly.
Does retractable eye pencil smudge?
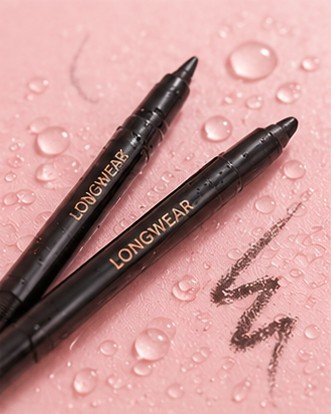
It depends on the formula, but many are designed to be long-wear or smudge-resistant.
Can I use it on the waterline?
Yes, many retractable pencils are safe for waterline use if ophthalmologist-tested.
How long does it last?
Typically 6–16 hours depending on formula and skin type.
Do I need to sharpen it?
No — it twists up for easy, no-sharpen application.
What looks can I create?
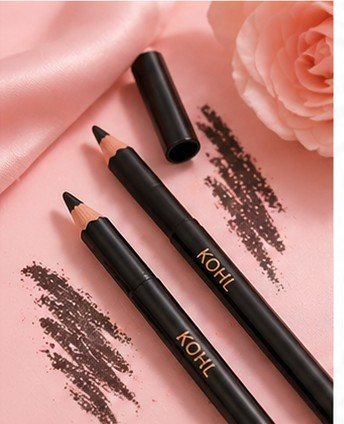
Everyday eyeliner, soft definition, and smoky or bold eye looks.
Is it better than sharpenable pencil?
It’s more convenient, while sharpenable pencils offer more precision control.
Most Searched Retractable Eye Pencil Questions
Why does my retractable pencil break?
Twisting too far or applying too much pressure can cause breakage.
How do I make it last longer?
Use primer and set with powder eyeshadow.
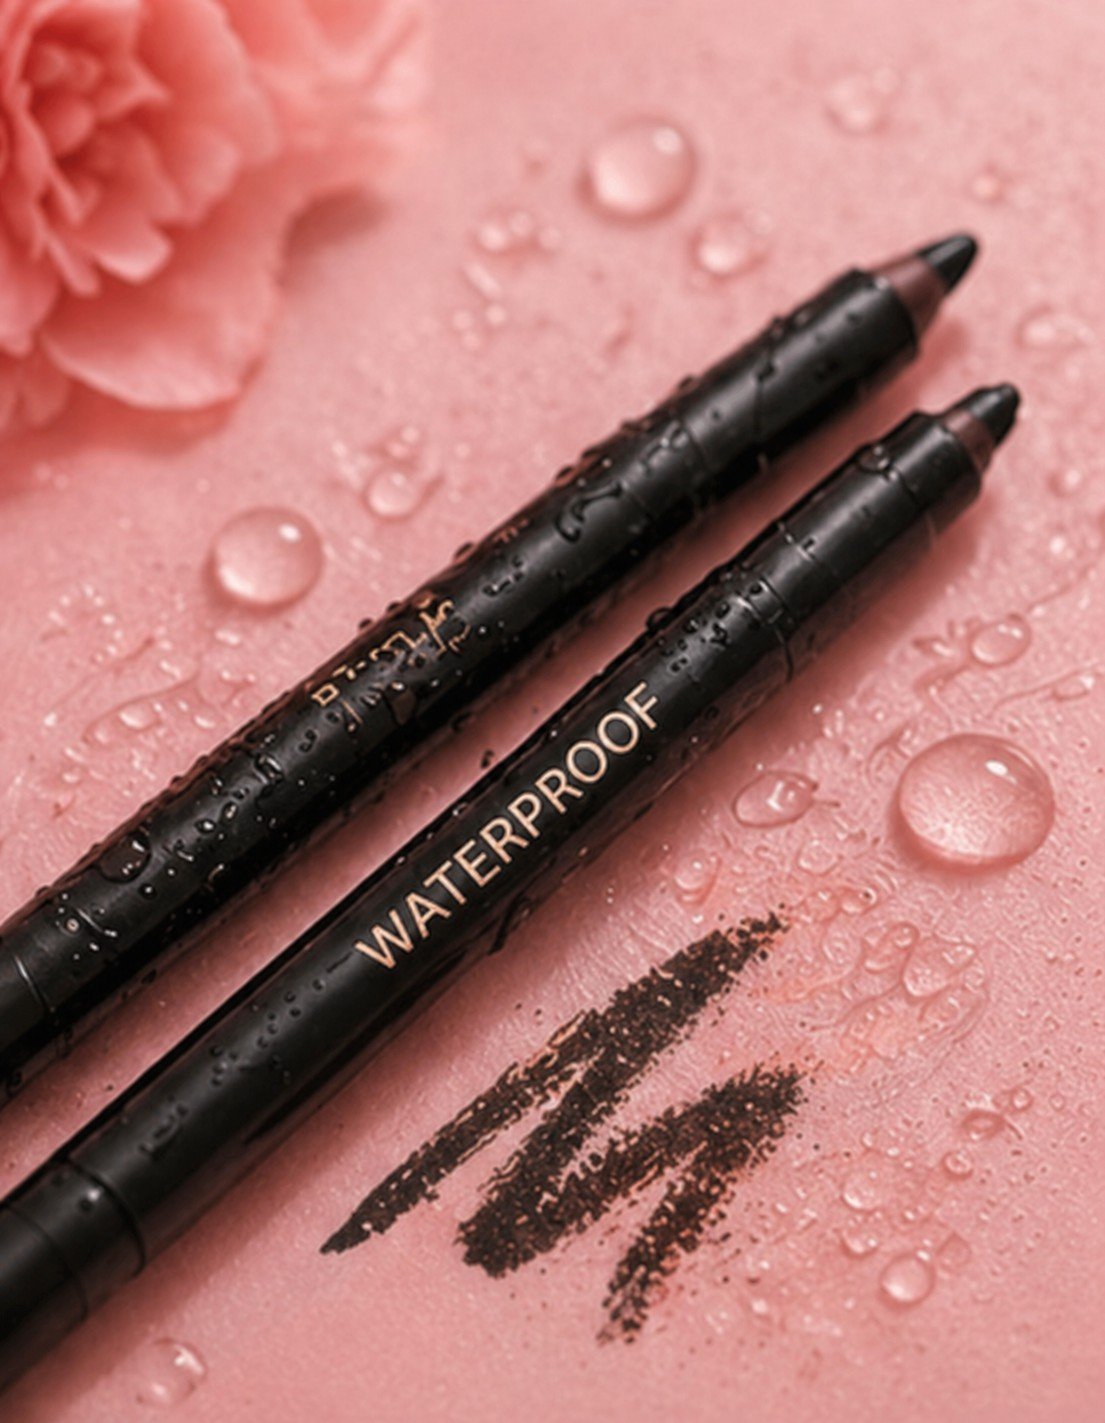
Is retractable eye pencil waterproof?
Some formulas are waterproof, but not all.
Can I use it every day?
Yes — it is designed for easy everyday use.
Retractable Eye Pencil Application Steps
Step 1: Prep Eyes
- Clean eyelids
- Apply primer
- Lightly set if needed
Step 2: Twist Up
- Gently twist pencil
- Expose small amount of product
Step 3: Apply Line
- Glide along lash line
- Use short controlled strokes
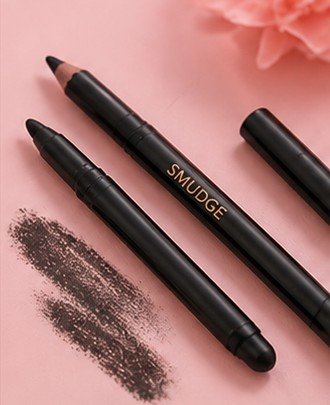
Step 4: Blend (Optional)
- Blend quickly before it sets
- Use brush or fingertip
Step 5: Set
- Let it dry completely
- Optional: set with eyeshadow
Useful Retractable Eye Pencil Tools
- Eye Primer – Improves wear time
- Smudge Brush – For blending effects
- Makeup Remover – For easy removal
Retractable Eye Pencil Tips & Guidance
Best for Eye Shapes ✨
- Hooded eyes: Thin precise lines
- Monolid: Bold liner looks
- Almond eyes: Versatile styles
- Round eyes: Soft elongated liner
Common Mistakes ⚠️
- Twisting out too much product
- Applying too much pressure
- Skipping primer
- Not blending quickly
Where to Apply 📍
- Upper lash line
- Lower lash line
- Waterline (if safe)
Choosing the Right Finish 🎯
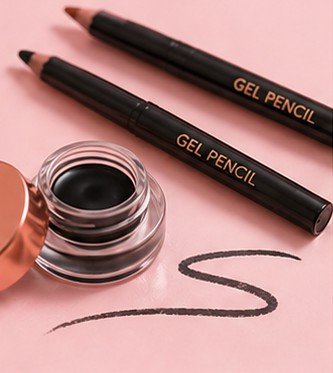
Matte for clean definition, creamy for blendable looks, waterproof for long wear.
Retractable Eye Pencil Coverage, Finish & Shade Guide
Coverage Levels ✨
- Light: Soft definition
- Medium: Everyday liner
- Full: Bold eye definition
Finish Types 💄
- Matte – clean look
- Creamy – easy blending
- Waterproof – long-lasting wear
Best For ✔
- Quick application
- Everyday eye makeup
- Travel-friendly use
May Not Be Ideal If ⚠
- You prefer ultra-precise sharpening
- You want very firm pencil tips
Shade Tips 💡
- Black for bold definition
- Brown for soft looks
- Nude for brightening waterline
Still Deciding Which Eyeliner Is Right for You?
Explore different eyeliner types to find your perfect match for finish, formula, and application style.
Best Retractable Eye Pencils
NYX Retractable Eye Liner
⭐ 4.5 / 5 from 30k+ reviews
Coverage:
Smooth creamy pigment
Benefits:
No sharpening needed
Why we love it:
Easy and convenient daily liner.
Maybelline Master Precise Retractable Liner
⭐ 4.6 / 5 from 35k+ reviews
Coverage:
Rich color payoff
Benefits:
Long-wear formula
Why we love it:
Great balance of precision and ease.
L’Oréal Infallible Retractable Pencil
⭐ 4.7 / 5 from 28k+ reviews
Coverage:
Intense pigment
Benefits:
Smudge-resistant wear
Why we love it:
Reliable all-day performance.
Revlon ColorStay Retractable Liner
⭐ 4.6 / 5 from 22k+ reviews
Coverage:
Smooth definition
Benefits:
Long-lasting formula
Why we love it:
Affordable and dependable.