Gel Blush
Gel Blush Guide: Dewy Glow, Application Steps & Natural Finish
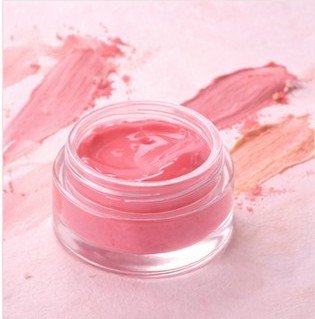
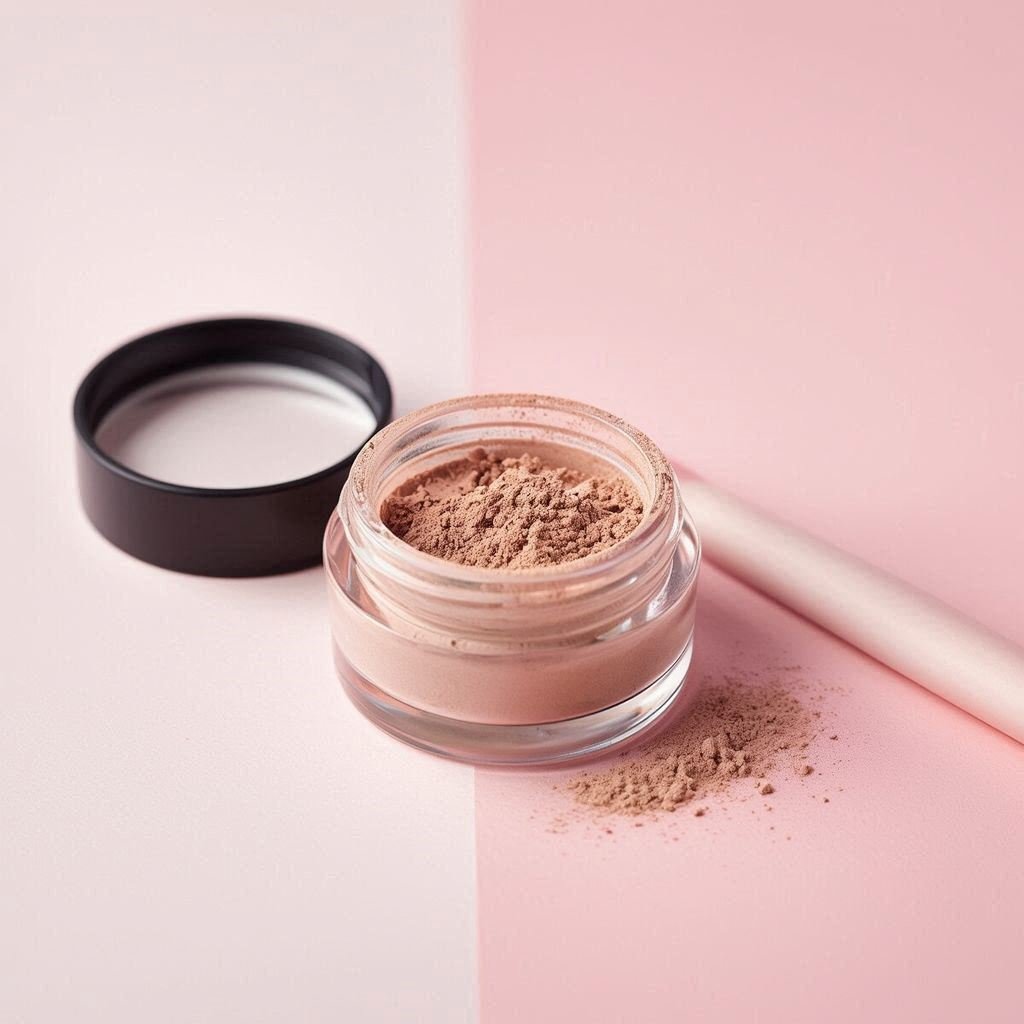
Gel blush gives a fresh, dewy flush of color with a lightweight, blendable formula that melts into the skin. In this guide, you’ll learn how to apply it, blend it for a natural finish, and choose the best shades and products for everyday makeup looks.
Common Gel Blush Questions Answered
What is gel blush used for?
Gel blush gives a natural, dewy flush of color with a lightweight feel.Is gel blush good for beginners?
Yes — it blends easily and is very forgiving for light makeup looks.Does gel blush last long?
It offers medium wear time and can be built up for longer-lasting color.What finish does gel blush give?
A fresh, dewy, skin-like finish that looks natural.Can gel blush work on oily skin?
Yes, but setting powder can help extend wear time.What tools do I need?
Fingers, a sponge, or a dense brush all work well.What looks can I create?
Natural flush, no-makeup makeup looks, and soft glam.Is gel blush better than powder blush?
Gel blush gives a dewy finish, while powder is more matte and long-wearing.Most Searched Gel Blush Questions
Why does my gel blush fade quickly?
It may not be set properly or applied over unprimed skin.How do I make gel blush last longer?
Apply over base makeup and lightly set with powder.Is gel blush good for dry skin?
Yes — it adds hydration and a fresh glow.Can I use gel blush every day?
Yes — it’s perfect for natural daily makeup looks.Gel Blush Application Steps
Step 1: Prep Skin
- Apply foundation or skin tint
- Keep base light and fresh
Step 2: Pick Up Product
- Use fingers, sponge, or brush
- Start with a small amount
Step 3: Apply to Cheeks
- Dab onto apples of cheeks
- Blend upward quickly
Step 4: Blend
- Tap to soften edges
- Build color gradually
Step 5: Set (Optional)
- Lightly set if needed
- Keep glow intact
Useful Gel Blush Tools
- Makeup Sponge – Seamless blending
- Dense Brush – Precise application
- Fingers – Natural skin finish
Gel Blush Tips & Guidance
Best for Face Shapes ✨
- Round: Apply slightly higher for lift
- Oval: Natural cheek placement
- Square: Soft blended placement
- Heart: Light application for balance
Common Mistakes ⚠️
- Using too much product
- Letting product dry too fast
- Not blending quickly
Where to Apply 📍
- Cheek apples
- Cheekbones
- Light nose bridge (optional)
Choosing the Right Finish 🎯
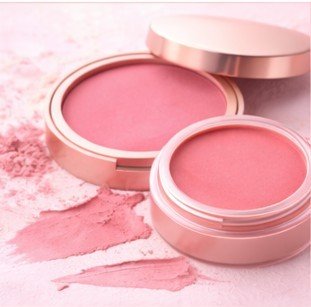
Gel blush gives a fresh, dewy finish perfect for natural, skin-like makeup looks.Gel Blush Coverage, Finish & Shade Guide
Coverage Levels ✨
- Light: Sheer natural tint
- Medium: Buildable flush
- Full: Bold dewy color
Finish Types 💄
- Dewy – fresh glowing skin effect
- Natural – skin-like finish
- Sheer – light tint effect
Best For ✔
- Natural makeup looks
- Dry to normal skin
- Dewy “no makeup” styles
May Not Be Ideal If ⚠
- You prefer matte finish
- You need ultra-long wear
Shade Tips 💡
- Pink for soft natural flush
- Peach for warmth
- Berry for deeper tones
Still Deciding Which Blush Is Right for You?
Explore different blush types to find your perfect match for finish, formula, and application style.Best Gel Blushes
Rare Beauty Soft Pinch Liquid Blush (Gel-like Texture)
⭐ 4.8 / 5 from 100k+ reviews
Coverage: Highly pigmented dewy flush Benefits: Long-lasting natural glow Why we love it: A little goes a long way. Buy Nowe.l.f. Putty Blush
⭐ 4.6 / 5 from 60k+ reviews
Coverage: Cream-to-gel finish Benefits: Buildable and smooth Why we love it: Affordable and beginner-friendly. Buy NowMilk Makeup Lip + Cheek
⭐ 4.7 / 5 from 45k+ reviews
Coverage: Natural gel tint Benefits: Easy stick application Why we love it: On-the-go convenience. Buy NowGlossier Cloud Paint
⭐ 4.7 / 5 from 80k+ reviews
Coverage: Sheer buildable gel tint Benefits: Natural flushed look Why we love it: Perfect “no makeup makeup” blush. Buy Now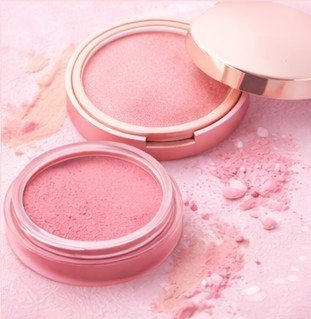


 4.7 / 5 from 25k+ reviews